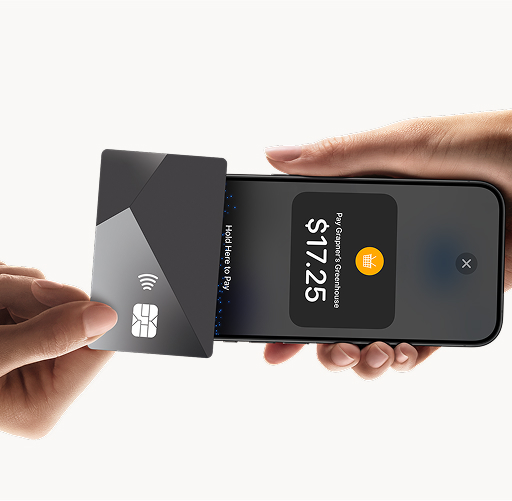
Processing Payments with SwipeSimple - Starter Plan
This guide walks through processing a payment in the SwipeSimple Mobile App, from entering the amount to sending your customer a receipt.Using a Quick ItemWhen you log in to SwipeSimple, you will land on the New Charge screen, where you can quickly enter the amount you need to charge your customer.
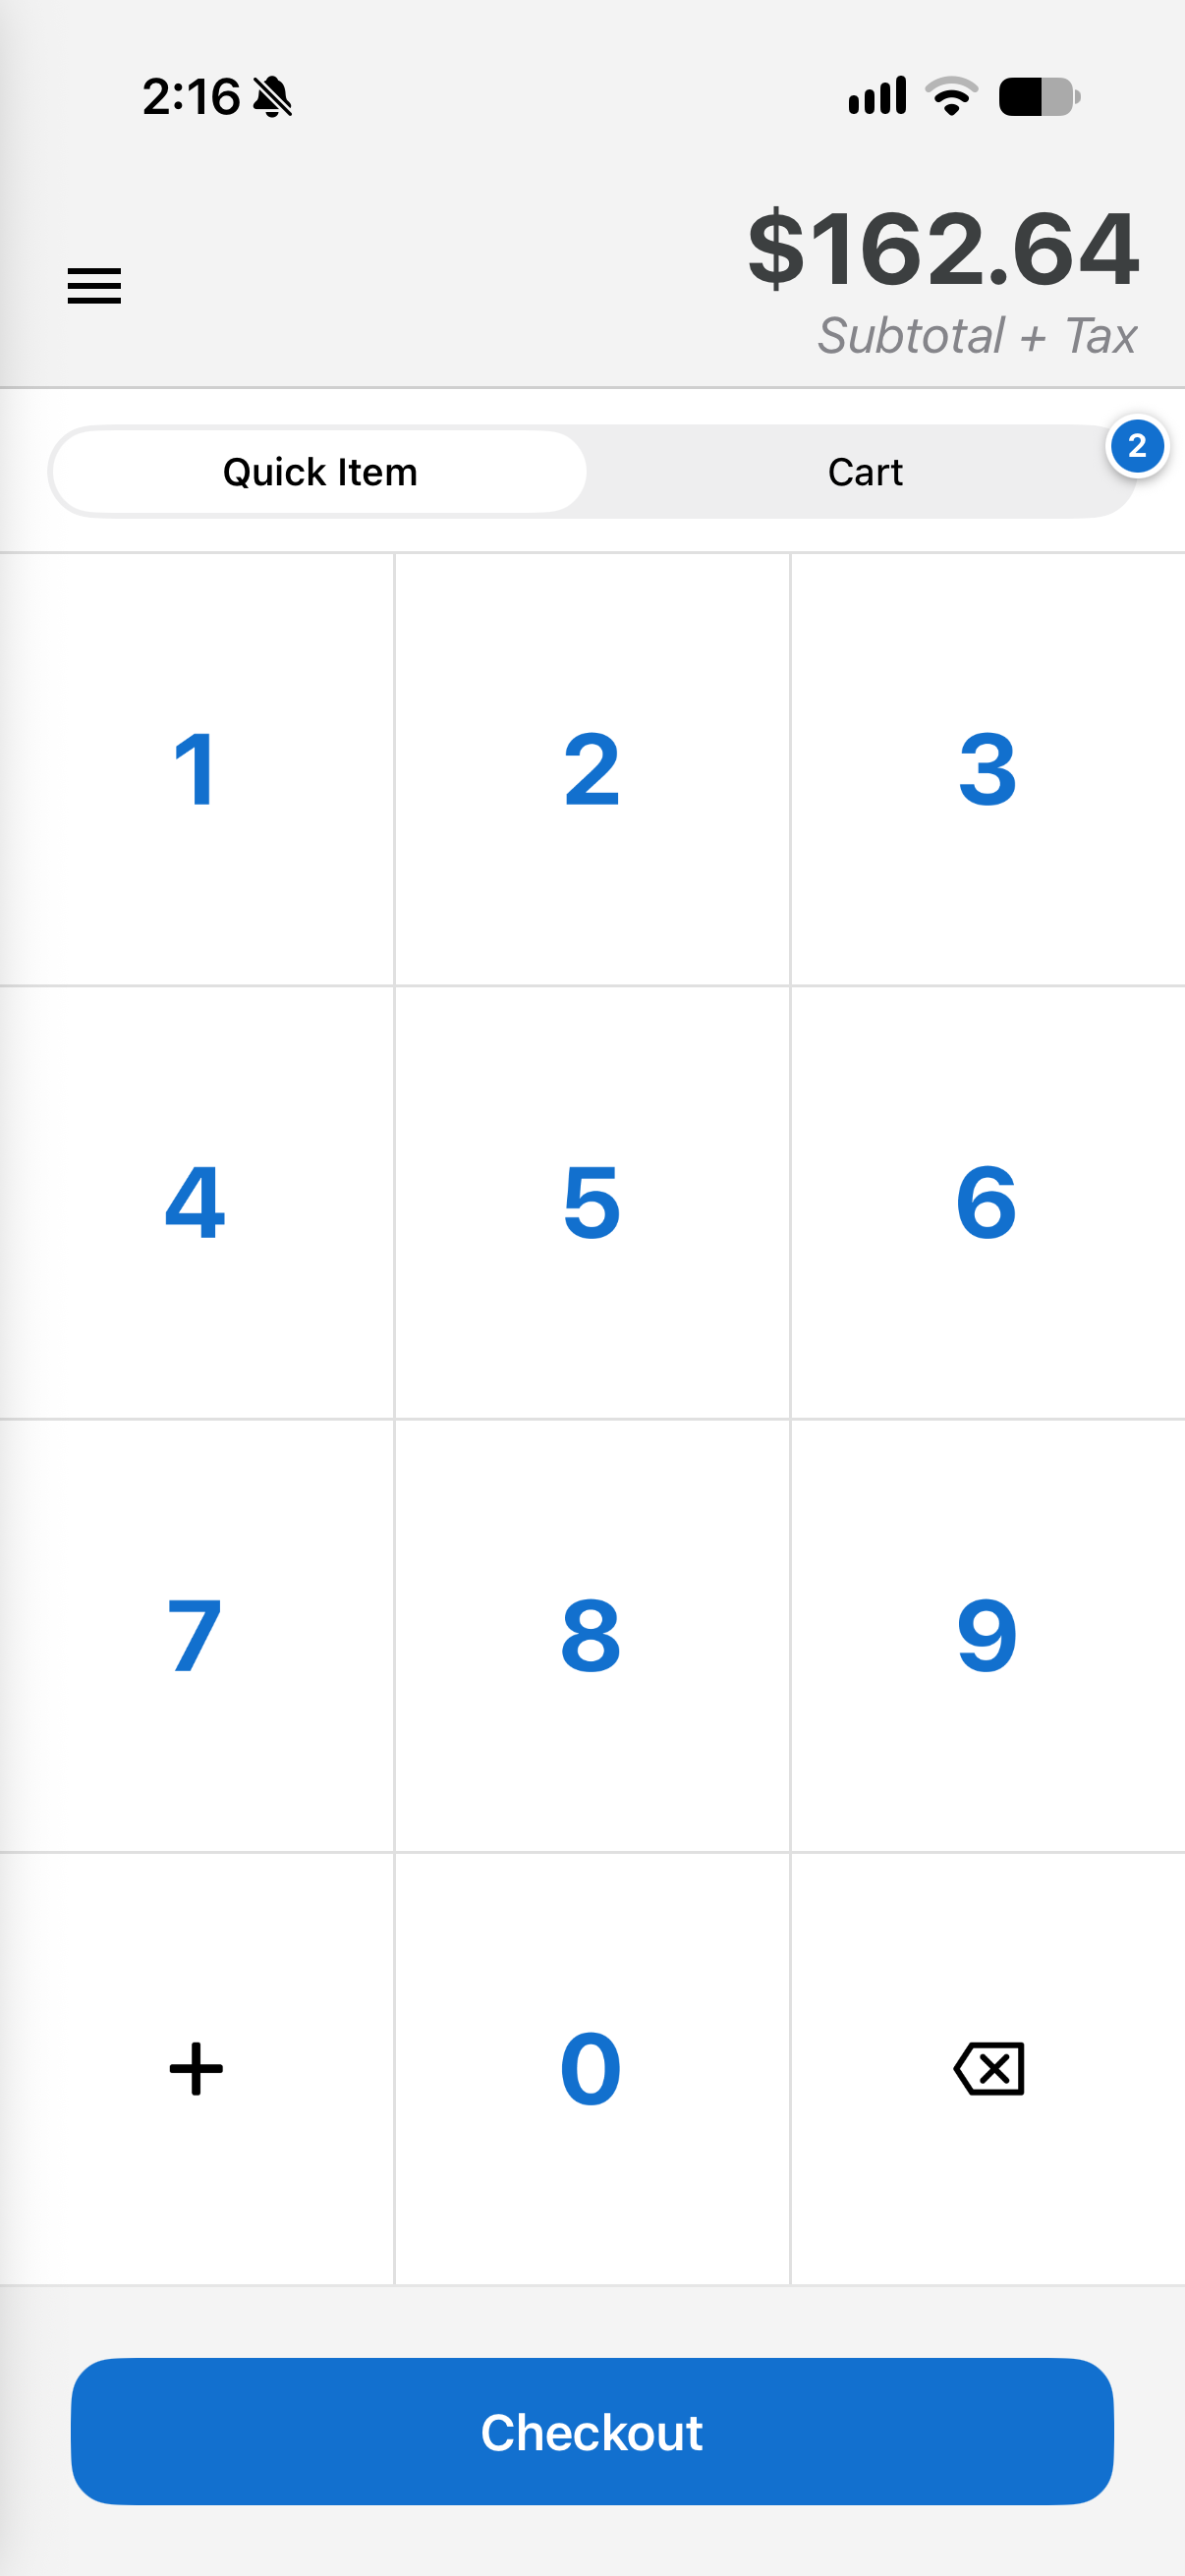
- Enter the amount using the number pad.
- If you have more than one line item, tap the + icon in the bottom left to add it to the cart, then enter the next amount.
For example, enter $125.00, tap +, then enter $27.00 for six additional miles. The subtotal and sales tax update automatically as you add Quick Items to the cart.
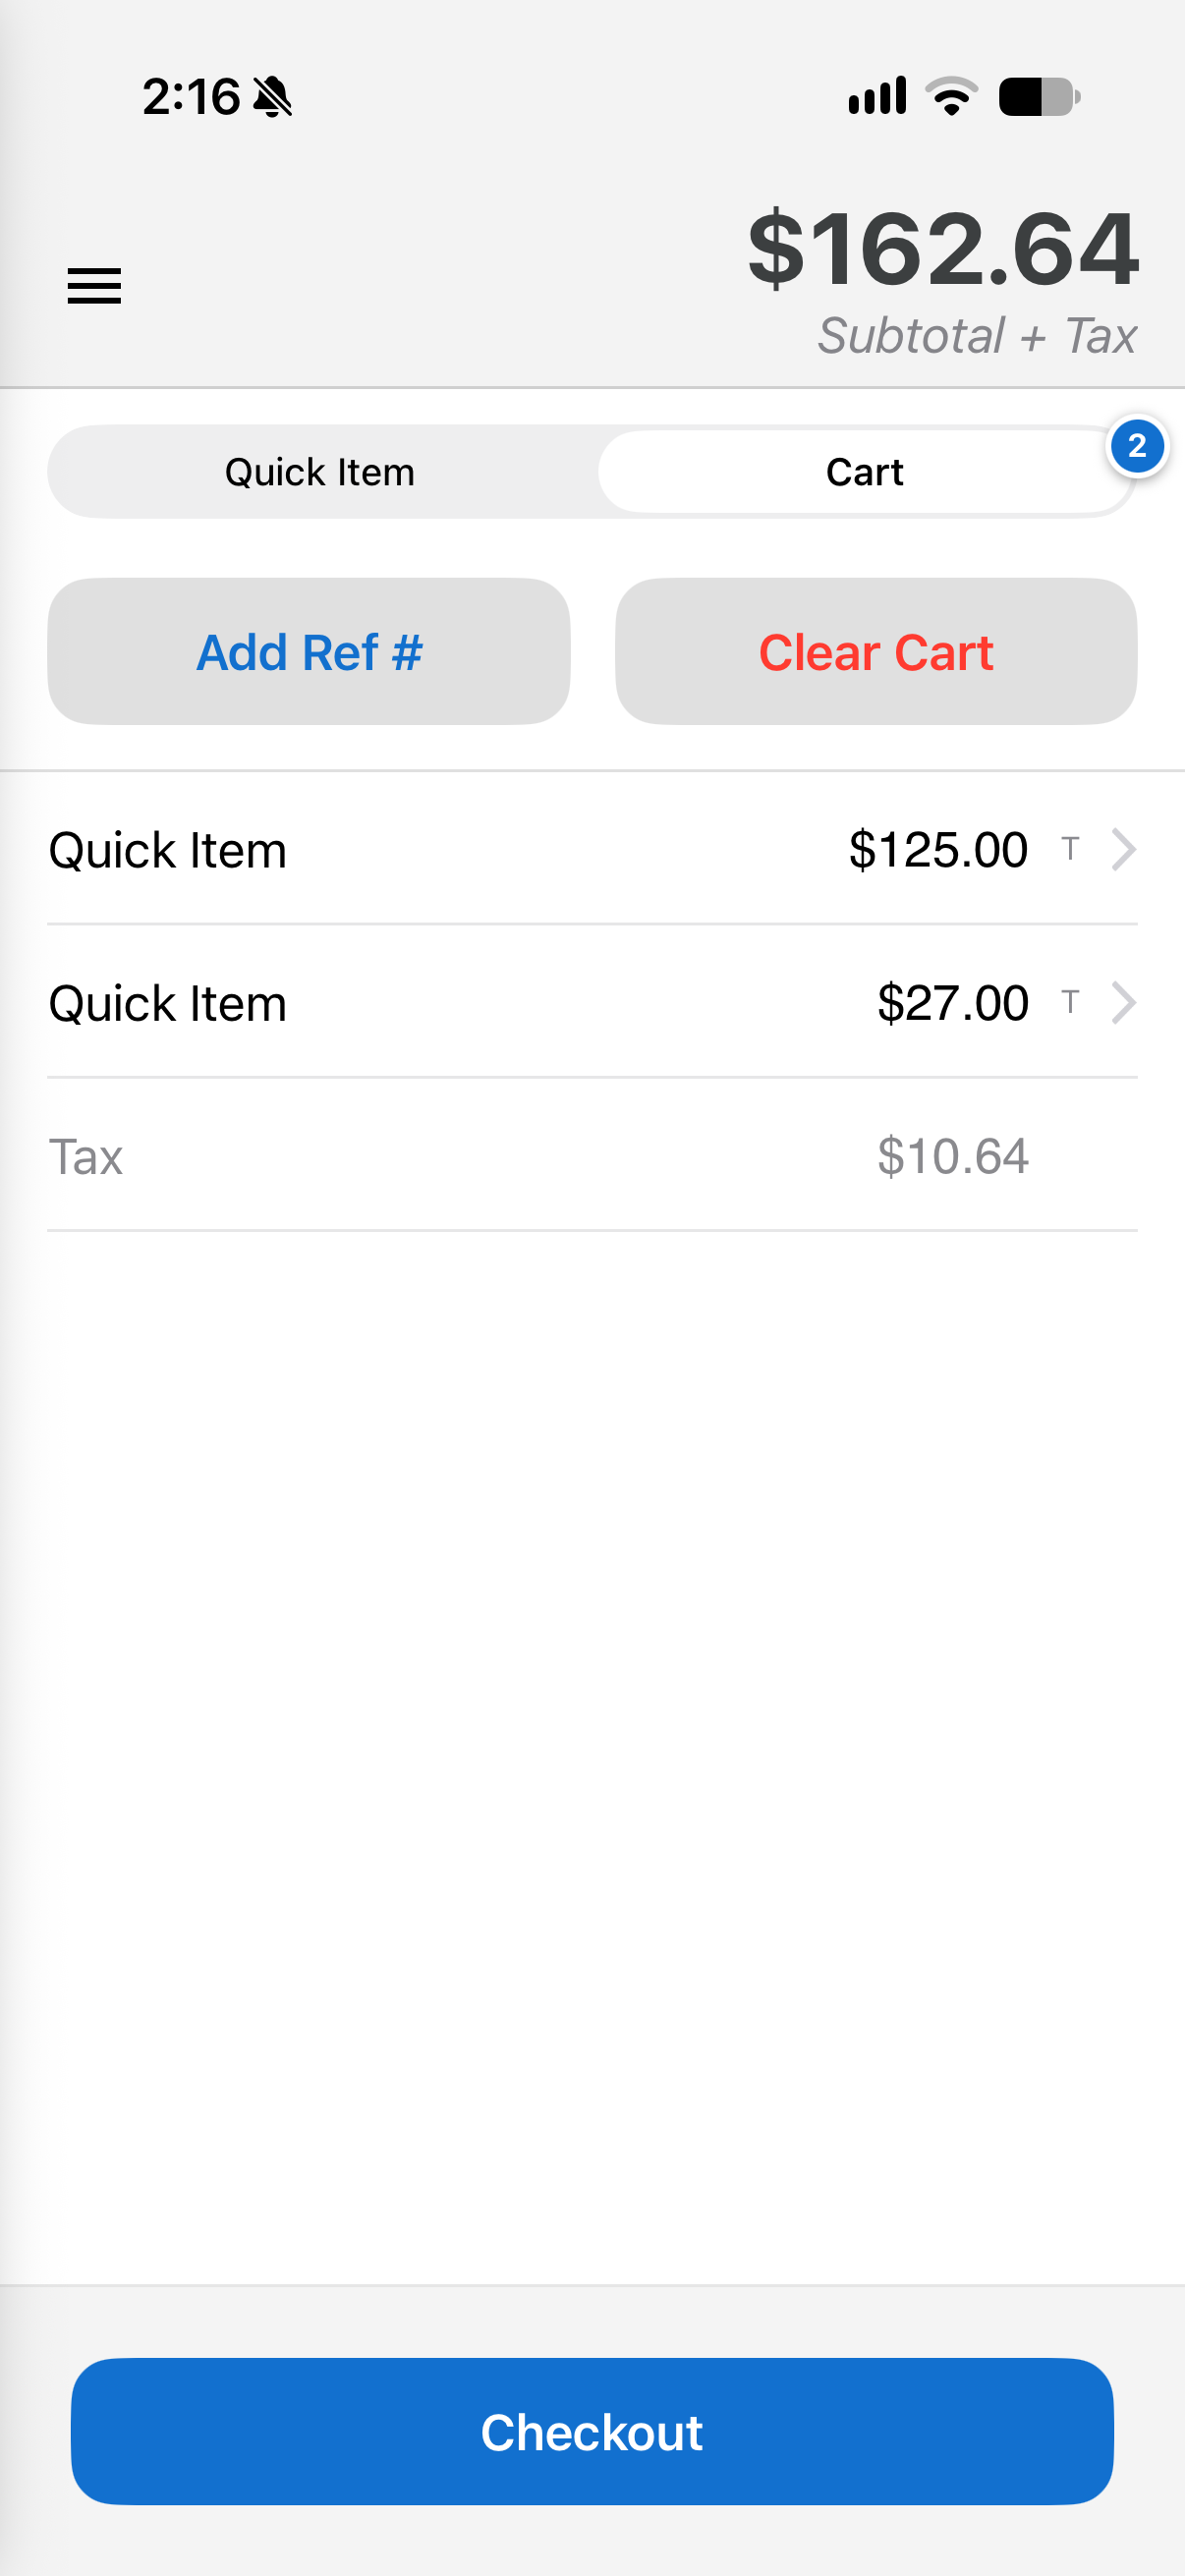
Editing Items in the CartTap the Cart tab to view or adjust the current sale. You will see your subtotal, item quantities, applied tax, and any Quick Items (shown in gray).
- Name a Quick Item: Tap the Quick Item, enter a name, and tap Rename. The name appears on the receipt but does not save to your reporting.
- Change the quantity: Tap an item and use the + and – icons.
- Remove an item: Tap the item and select Remove Item. To remove everything, tap Clear Cart.
- Add a reference number: Tap + Add Ref # to add an optional reference or note of up to 64 alphanumeric characters. This field appears in the Transaction Report on the SwipeSimple Dashboard.
Taking Payment
When you are ready, tap Checkout and select the tender type. Using a Bluetooth card reader is covered in a separate video.
Keyed Entry
- Select keyed entry and enter the card details. For international cards, leave the address blank.
- Once the required fields are complete, the Charge button turns blue. Tap Charge to complete the payment.
Tap to Pay on iPhone
- Select Tap to Pay on iPhone.
- Have the customer hold their card or phone near the top of your iPhone.
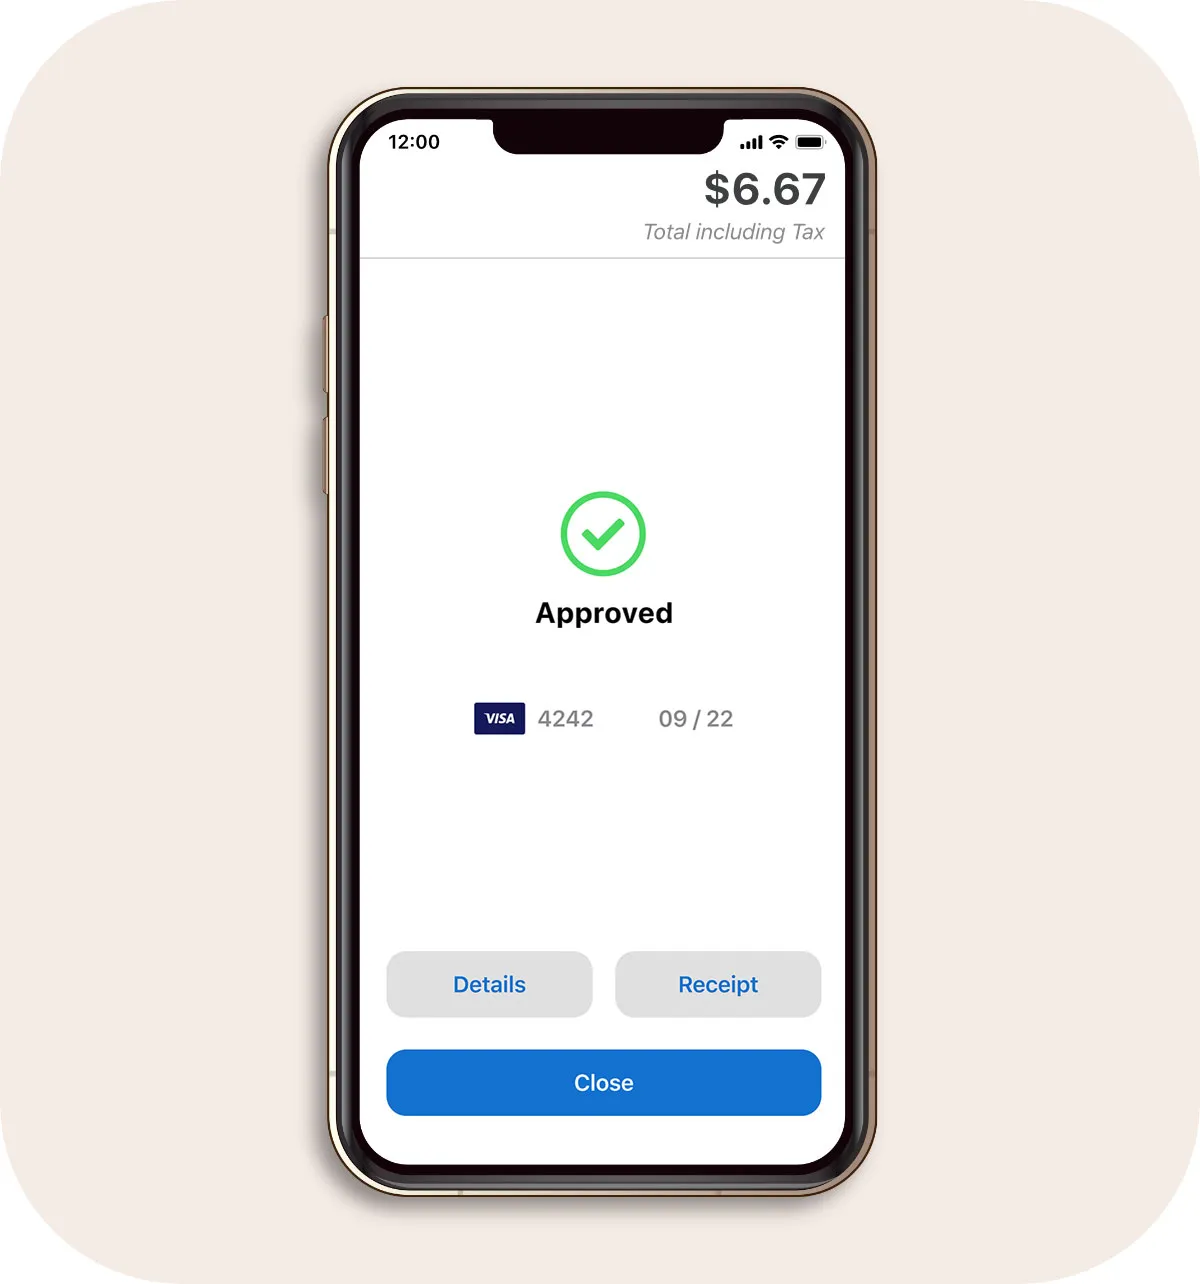
- Once the payment is approved, the receipt screen appears.
Cash
Select Cash and complete the sale so it is still recorded in SwipeSimple. If you use dual pricing, the customer pays the cash price. Cash payments appear in Transaction History and your Sales Report alongside card payments.
Adding a Tip
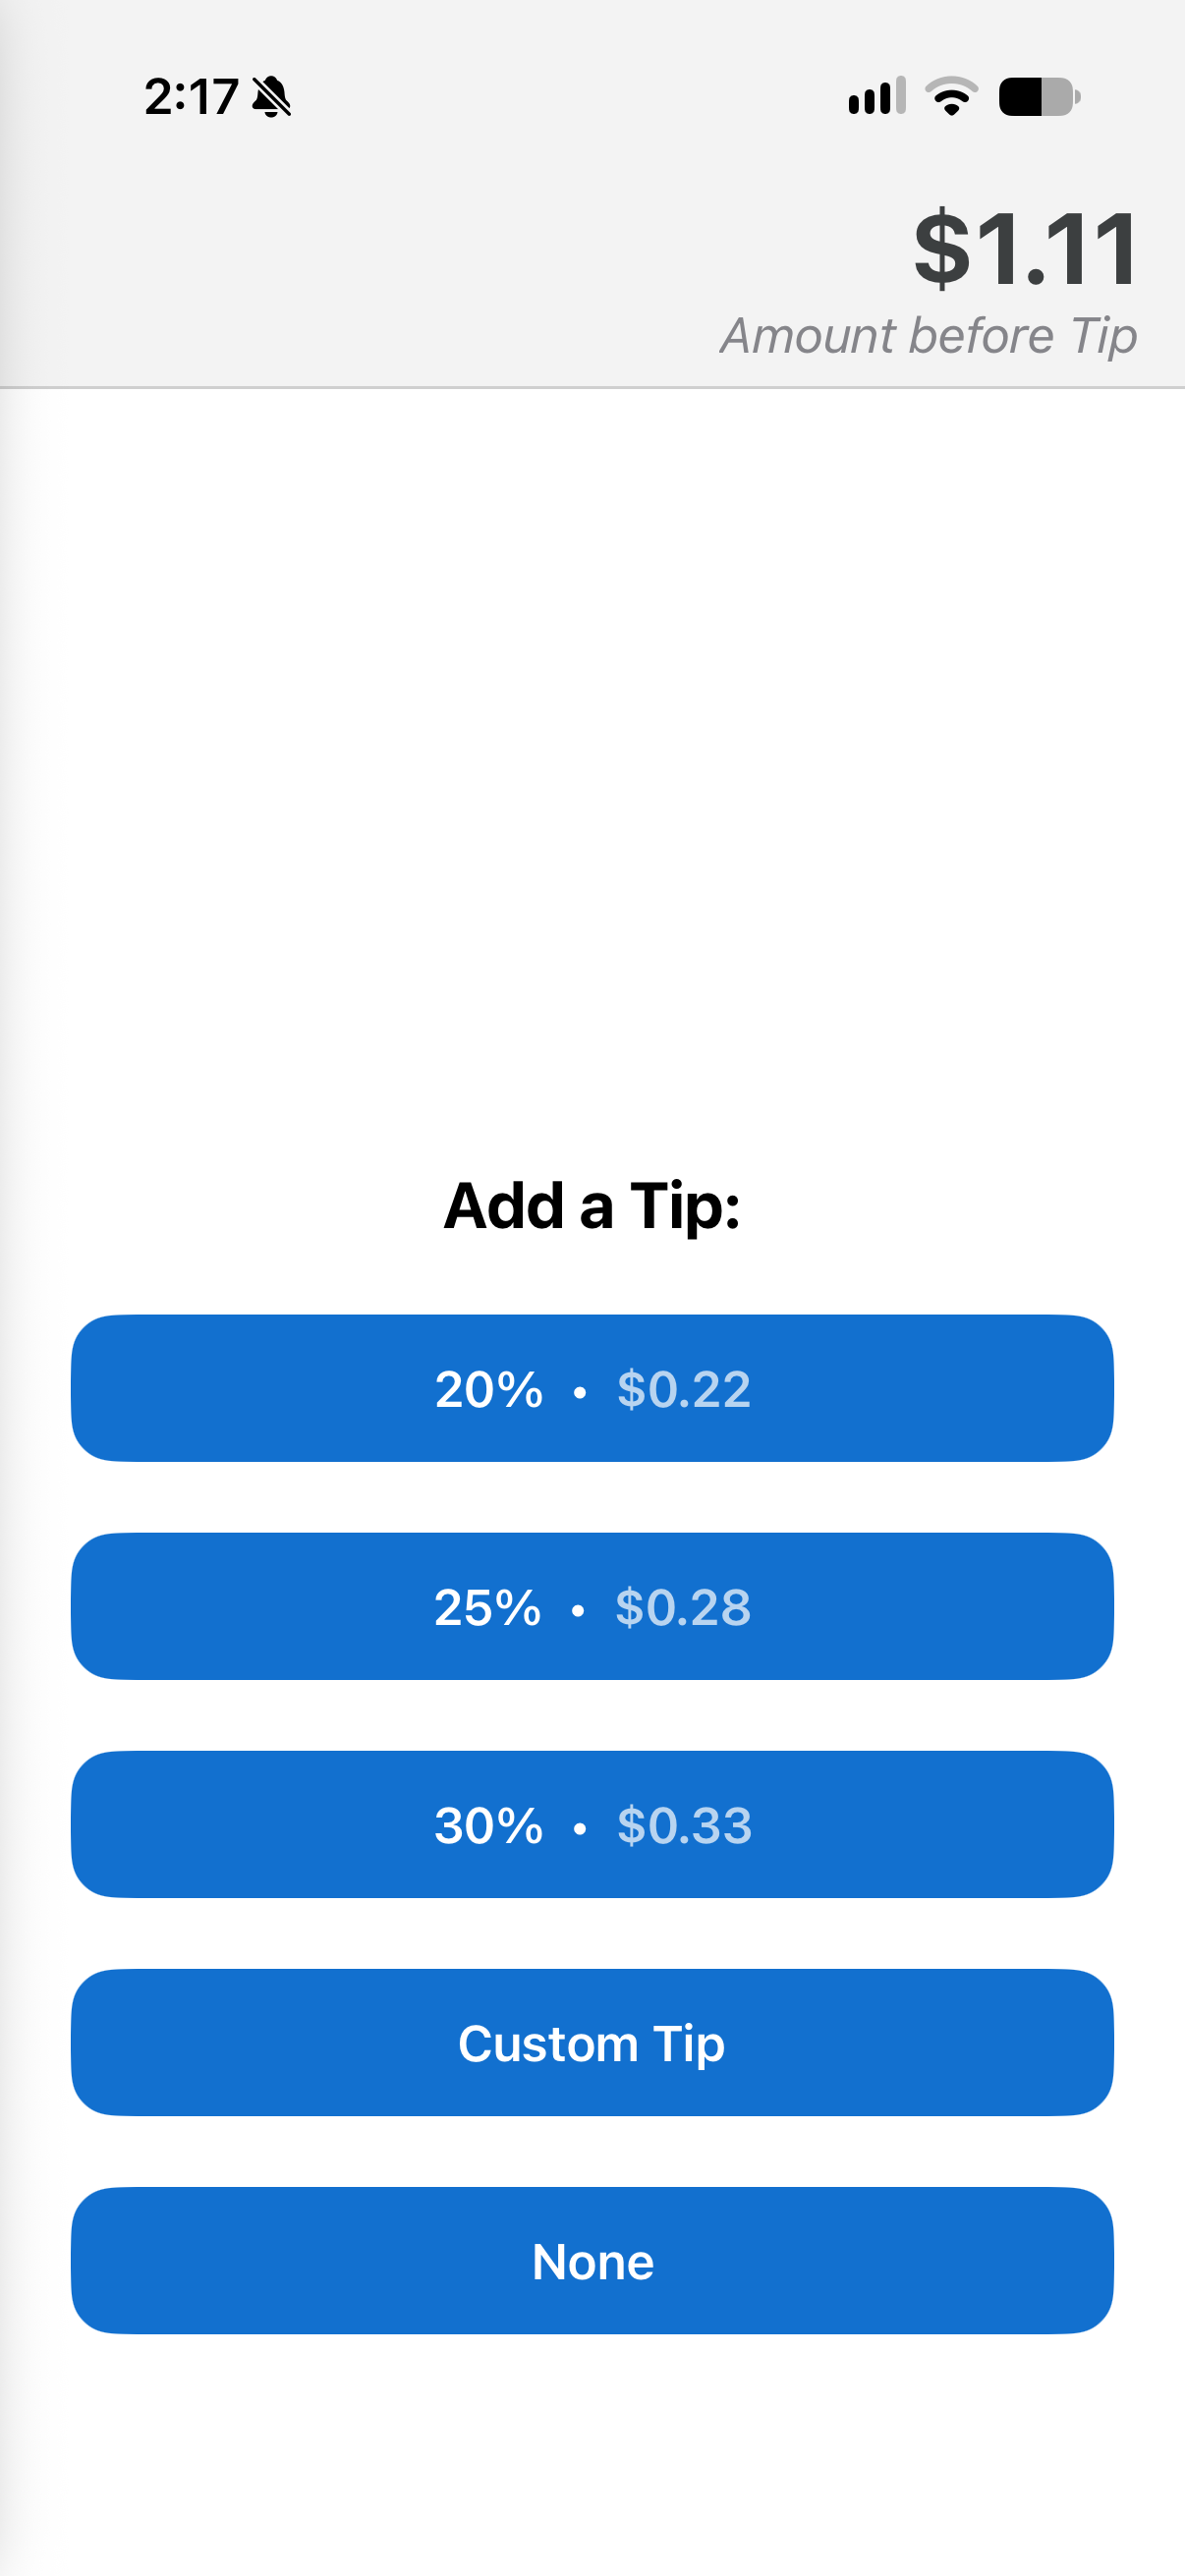
If tipping is turned on in Settings, a tip screen appears after you select the tender type. Hand the device to your customer, who can choose a suggested tip, enter a custom amount, or select No Tip.
The tip is added to the total before the payment is completed.
Issuing a Receipt
After the sale is complete, tap Receipt and enter an email address or phone number to send a digital receipt.To send a receipt later, go to Transaction History, select the sale, and tap Receipt.
Receipts include your business name, address, and phone number by default. You can customize additional fields on the SwipeSimple Dashboard under Account Settings > Receipts.
Related Articles
Customizing Mobile App Settings - Starter Plan
SwipeSimple Mobile App Navigation - Starter Plan
Customizing Mobile App Settings

Issue Refunds, Void Transactions & Resend Receipts

How to Use Invoices on Mobile

How to Navigate SwipeSimple - Mobile App & Web Dashboard